Bodywork & paint
Bumper Scuff Repair: How to Fix Scuffs and Scratches
A step by step guide to repairing a scuffed plastic bumper, the tools and materials needed, what to check for hidden damage and when to call a body shop.
13 minute read By Signature Alloy Wheel & Body Repairs
In short
A scuffed plastic bumper is repaired by cleaning and degreasing the area, sanding the damage back, filling any deeper gouges, priming, applying colour matched paint in thin coats, then lacquering and polishing. Most cosmetic scuffs can be repaired rather than replaced, and a localised SMART repair usually takes a few hours.
A scuffed bumper is the most common damage a car picks up, and in most cases it is repaired rather than replaced. The bumper cover is plastic, it takes filler and paint well, and a localised repair on a scuff of a few inches can be finished in a few hours. This guide covers what can be repaired, what to check before you start, the materials and equipment involved and the full step by step process. The same techniques apply whether you do it yourself or a technician does it, but the products used in a body shop and the environment they are applied in make a substantial difference to the finish.
Can any scuffed bumper be repaired?
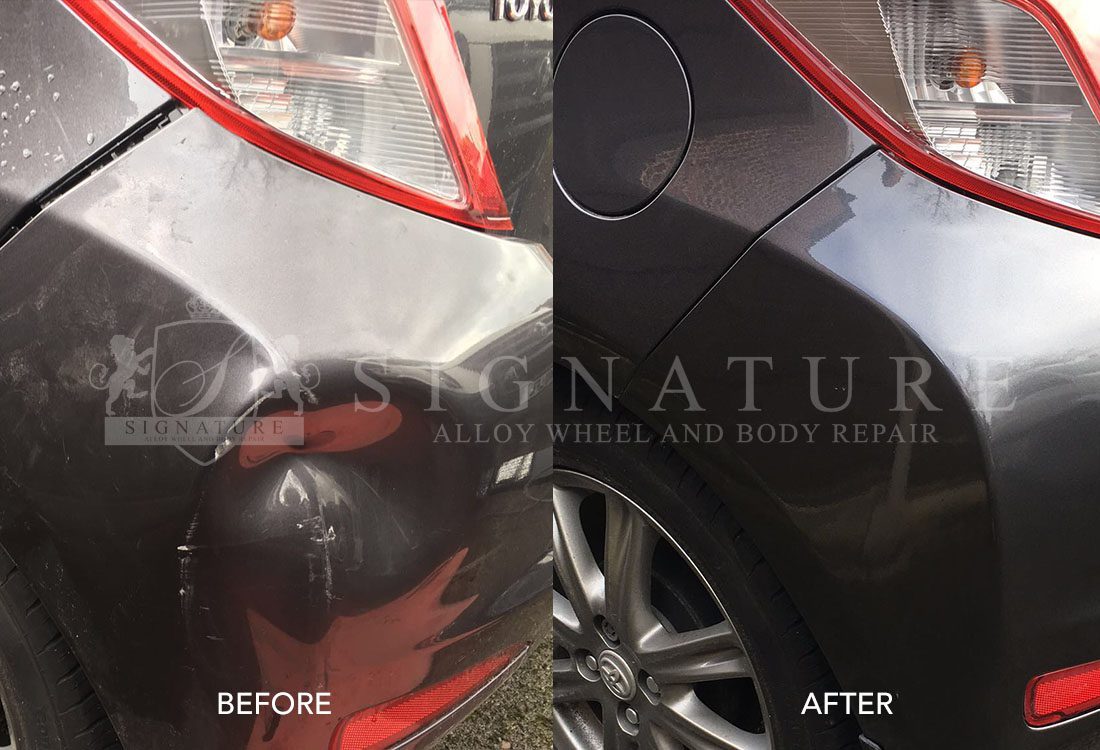
Most scuffed bumpers can be repaired, because the damage is usually cosmetic and confined to the paint and lacquer. Bumper covers, the moulded plastic outer skin that everybody calls the bumper, are the single most frequently damaged part on a car and the single most frequently repaired.
Where the damage is a scrape into the finish, a repair is straightforward and costs a fraction of a replacement cover. Replacement only becomes the sensible option when:
- The plastic is torn or badly cracked through a mounting point
- Mounting tabs and clips have snapped so the bumper will not sit flush
- The panel is distorted and no longer follows the body line
- A sensor, camera or grille housing moulded into the cover is destroyed
- The damage is spread over so much of the cover that a full respray plus repair approaches the cost of a new part
Anything short of that is repair territory. Repairing a scuffed bumper also keeps the original mounting hardware and fit, which is often better than a pattern replacement part.
Should you repair a bumper scuff yourself or use a professional?
It comes down to whether you have the skills, the environment and the equipment, because a bumper repair is not a quick job. There are a dozen or more distinct stages, each with drying time in between, and most of the skill sits in the preparation rather than the painting.
If you enjoy working on cars, already own the abrasives and a compressor, and can accept a finish that is good rather than invisible, doing it yourself is a reasonable weekend project on an older car. If you have never repaired a panel before, want the repair to be undetectable, or the car is leased, financed or about to be sold, use a body shop.
| Factor | Doing it yourself | Professional repair |
|---|---|---|
| Paint match | Aerosol colour by paint code, no tinting | Mixed to code and tinted against the panel |
| Blending | Hard edge or fade out aerosol | Blended into adjacent panels |
| Lacquer quality | Aerosol lacquer, softer, slower to harden | Two pack lacquer, baked and durable |
| Environment | Driveway or garage, dust and weather a risk | Extraction, filtered air, controlled temperature |
| Time | A full weekend for a first attempt | Usually a few hours for a localised SMART repair |
| Cost | Materials only, plus your time | Labour and materials, guaranteed |
| Risk | A poor repair costs more to put right afterwards | Covered by a guarantee on parts and workmanship |
The point worth being blunt about is that a failed DIY repair is more expensive to fix than the original damage. Sanded through paint, orange peel lacquer and a mismatched patch all have to be flattened back before a shop can start, and that time is charged for.
What should you check before repairing a bumper scuff?
Check for damage behind the bumper before you touch the scuff itself. A scrape on the surface is often the only visible sign of an impact that also moved things underneath, and repainting over a problem does not make it go away.
Go through this list first:
- Is the bumper cracked? Look along the back face and inside the wheel arch liner, not just the outside.
- Is it sitting square? Check the gaps between the bumper and the wings, the bonnet and the headlights. Uneven gaps mean something has shifted.
- Are the mounting tabs intact? Plastic tabs snap easily and a bumper held on by half its clips will sag later.
- Is the crash bar or absorber behind it damaged? The foam absorber and the steel or aluminium beam behind the cover do the actual work in an impact.
- Are the sensors and camera still working? Test the parking sensors and reversing camera before booking any repair.
- Is anything leaking or fouling? Check the radiator, condenser, washer bottle and any pipework near a front impact.
If any of those raise a question, get the car looked at properly before spending money on cosmetics. A tidy paint repair over a cracked crash structure hides a genuine safety problem, and it is the sort of thing that comes out on an inspection later.
What materials and equipment are needed to repair a bumper scuff?
More than most people expect, which is the main reason a one off DIY repair rarely saves money. Off the shelf bumper repair kits from motor factors and high street shops cover part of the list: a cleaner or degreaser, several grades of wet and dry paper, filler, primer, a colour matched aerosol and lacquer.
The rest of the list you have to assemble yourself:
- Cloths, microfibres and lint free towels
- Masking tape and masking paper
- Scuff pads and buffing pads
- Panel wipe and paint thinners
- Adhesion promoter or plastic primer, which is essential on bare plastic
- Flexible additive for the colour and lacquer, since bumpers flex
- Fade out lacquer or blending thinner
- Finishing glaze and polishing compound
- Sanding blocks and, ideally, an orbital sander
- PPE: overalls, goggles, gloves and a suitable respirator mask
- Spray equipment: compressor, primer gun, paint gun and lacquer gun
- Cleaning kit: bucket, sponge, clean water
- An electric polisher, optional but a considerable help at the finishing stage
Two items on that list deserve emphasis. Adhesion promoter is what makes paint stick to bare polypropylene, and skipping it is the reason a lot of home repairs peel off within a year. A proper respirator matters because two pack products contain isocyanates, which are genuinely hazardous to breathe and are not stopped by a dust mask.
Assembled from scratch, this is a significant outlay for a single scuff. For anyone not planning to repair cars regularly, having the bumper repaired professionally is both cheaper and faster.
How do you repair a scratch or scuff on a plastic car bumper?
The process is clean, sand, fill, sand, prime, sand, clean, colour, lacquer, flat and polish. Here is each stage in order.
1. Clean the panel and remove debris
Wash the bumper and the surrounding panels thoroughly with warm soapy water, then dry and go over the repair area with panel wipe or a dedicated degreaser. Bumpers collect road film, tyre dressing overspray and traffic film that will contaminate everything you do afterwards. Clean before you sand, not after, or you simply grind contamination into the surface.
2. Sand the damaged area back
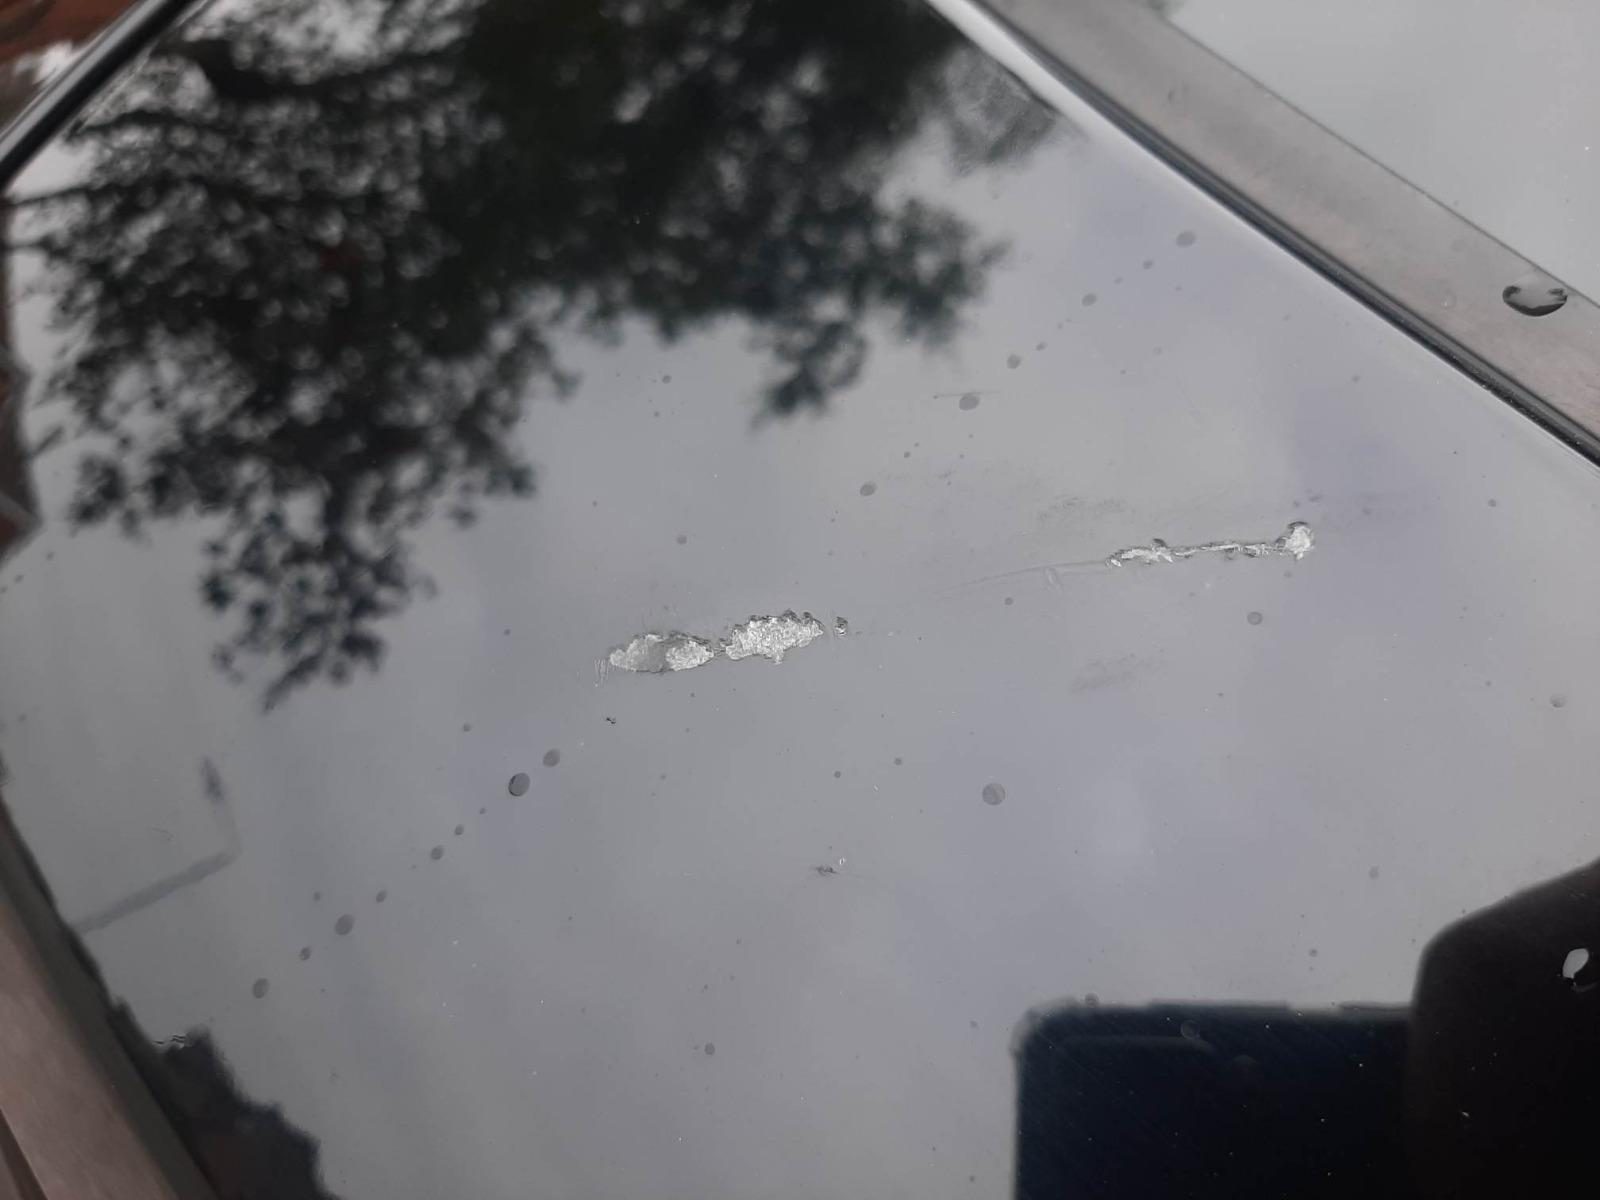
Sand the scuff back until the damage is gone. On a plastic bumper you are working back through lacquer, colour and primer to the plastic substrate underneath, not to metal. Feather the edges of the sanded area outwards so there is no step between the repair and the surrounding paint. Start with a coarser grade to remove the damage and work up through finer grades to leave a key for what comes next.
3. Apply filler where the scuff is deep
This step is not always needed. A scuff that has only taken the lacquer and colour off does not need filler. A gouge with depth to it does, and a flexible filler suited to plastic is the right choice, because rigid body filler will crack when the bumper flexes.
Apply thin, work it slightly proud of the surrounding surface, and leave it to cure fully. Rushing this is the most common mistake: filler that is still soft underneath will sink after painting and leave a visible shadow.
4. Sand the filler flush
Once fully hard, sand the filler down until it is flush with the surrounding panel. A guide coat, a light dusting of contrasting aerosol over the area, makes low spots obvious as you sand. Run your hand over the area with a clean cloth between passes, because your fingertips will find imperfections your eyes miss. If pinholes or scratches remain, skim again and repeat rather than pressing on.
5. Prime the repair area
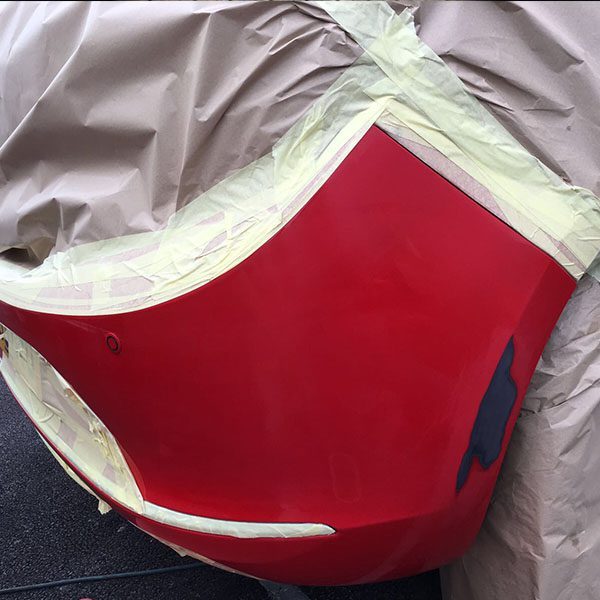
Mask off the surrounding panels, then apply adhesion promoter to any exposed plastic followed by two to three coats of primer, allowing flash off time between each. Primer fills the fine sanding scratches, gives the colour a uniform base and provides the bond between the repair and the topcoat. Let the final coat dry fully.
6. Flat the primer
Once the primer has hardened, flat it with fine wet and dry to leave a smooth, even surface, and key any surrounding paintwork that the colour will be blended into so it is dull rather than glossy. Paint bonds to a keyed surface and sits on top of a glossy one.
7. Clean again and mask up
Blow off and wipe down the whole area again with panel wipe on a lint free cloth. Re-mask, extending the masking well beyond the repair to catch overspray, and cover the tyre, wheel, lights and any sensors or camera. Every speck of dust left at this point ends up sealed under the lacquer.
8. Identify the colour
Find your car's paint code. It is on a sticker or plate, most often inside the driver's door shut, under the bonnet, in the boot beside the spare wheel well or inside the fuel filler flap. The code identifies the exact shade, and manufacturers use dozens of variants of what looks like the same silver or grey.
A body shop reads the code, pulls the formula from its mixing scheme and then tints against a sprayed test card held to the actual panel, because paint fades with age and no two cars of the same model are identical after five years in British weather. Matching from a code alone, without a test card, is the step DIY repairs cannot replicate.
9. Mix or buy the paint
At a body shop the colour is weighed out on scales to the formula, adjusted, then sprayed through a gun. Doing it at home, you will be buying an aerosol pre-mixed to your code. Quality varies enormously between suppliers, so buy from a paint factor that mixes to order rather than picking a generic tin off a shelf, and choose one with a decent fan nozzle rather than a pinhole.
10. Apply the colour
Apply the colour in several thin coats rather than one heavy one, allowing proper flash off time between each. Build until the primer no longer shows through, then extend each subsequent coat slightly further out than the last so the new colour fades into the surrounding paint instead of stopping at a hard line. On metallics, keep the gun or can moving at a constant distance and speed, because the flake orientation changes with distance and that is what causes patchy, mottled repairs.
11. Lacquer
Apply lacquer over the colour and out beyond it. Lacquer is what gives the repair its gloss and its protection, and on a bumper it needs a flexible additive so it moves with the panel. If you are only lacquering part of the panel, the edge has to be faded out with blending thinner so there is no visible ridge where the new lacquer stops.
This is the stage where professional and DIY results diverge most sharply. Two pack lacquer applied in a booth and baked is far harder and glossier than anything available in an aerosol, and it is the difference between a repair that still looks right in three years and one that dulls in a season.
12. Flat and polish
Once the lacquer is fully hard, flat it with very fine wet and dry to remove any dust nibs or orange peel texture, then bring the gloss back with a machine polisher and compound. Finish with a glaze to level the surface and lift the shine. Take care around edges and body lines, where the coating is thinnest and easiest to burn through. If you are not confident with a machine polisher, this is the stage where a lot of otherwise decent home repairs are spoiled.
13. Wash and protect
Finally, wash the car with warm soapy water and rinse with clean water to remove masking residue, sanding dust and polishing compound. Fresh paint needs a few weeks to fully cure, so leave wax or sealant until then, and avoid automatic car washes in the meantime.
How long does a bumper scuff repair take?
A localised SMART repair on a single scuff usually takes a few hours, and the car can be driven the same day. A full bumper respray takes longer because the whole cover has to be prepared, sprayed and cured, and it is normally a workshop job over a day or more.
Working through the same job at home realistically takes a full weekend, mostly because of curing times between stages. Filler, primer, colour and lacquer each need time, and pushing on before something has hardened is what causes sinking, cracking and a repair that has to be done twice.
Bumper repair options compared
There are three routes for a damaged bumper, and the right one depends on how far the damage goes.
| Option | Best for | Typical outcome |
|---|---|---|
| Machine polish | Light scuffs that have only marked the lacquer | Damage removed with no paint at all, quickest option |
| SMART repair | Localised scuffs, scratches and small gouges | Repair confined to the damaged area and blended in, a few hours |
| Full respray of the cover | Damage across several areas of the bumper | Uniform finish across the whole panel, workshop based |
| Replacement cover | Cracks through mounts, torn or distorted plastic | New part supplied, prepared, painted and fitted |
A SMART repair is what most bumper scuffs need. Because the work is confined to the damaged area rather than the whole panel, it uses less material, takes less time and costs considerably less than a traditional body shop respray.
How do you prevent bumper scuffs?
You cannot prevent them entirely, but you can cut the odds down considerably. Most bumper damage is a low speed manoeuvring error rather than an accident, which means it is largely within your control.
The bumper itself plays a part. A more rigid, brittle bumper cover chips and cracks more readily on contact, while a flexible cover absorbs a knock and springs back. That is a property of the car rather than something you can change, but it is worth knowing which sort you have, because a flexible cover often survives a bump that would crack a stiffer one.
Take care when driving and parking
- Park away from other cars where the car park allows it, especially in tight multi storey bays
- Reverse into spaces rather than nosing in, so you leave under better visibility
- Watch for low bollards, kerb stones and concrete wheel stops, which sit below the line of most rear view cameras
- Leave more room than feels necessary when pulling in and out of tight spaces
- Take care on steep driveway entrances and speed ramps, where front spoilers and lower bumper edges ground out
- Keep your parking sensors clean, since a sensor caked in road film reads unreliably
- Fold the mirrors when parking in narrow spaces and check both corners before moving
Damage still happens to careful drivers. When it does, dealing with it promptly keeps the repair simple: a scuff that has only broken the lacquer is a smaller job than the same scuff after a winter of salt has got underneath it. Send photographs through the quick quote form or ring 0161 667 0919 and you will have a free, no obligation figure back within 24 hours.
Need this doing properly?
Signature repairs alloy wheels and bodywork across Greater Manchester and the North West, mobile at your home or workplace. Free quotes answered within 24 hours.