Bodywork & paint
Car Paintwork Guide: How to Protect Your Car Paint
How car paintwork is built, what damages it on UK roads, and how to wash, protect and repair it so the finish stays sharp and the metal beneath stays sound.
9 minute read By Signature Alloy Wheel & Body Repairs
In short
Car paintwork is a layered system of primer, colour basecoat and clear lacquer over treated steel. Protect it by washing every two to three weeks with proper shampoo and two buckets, sealing or waxing a few times a year, removing bird lime quickly, and repairing chips before moisture reaches bare metal.
Car paint is a protective system that happens to look good, not a decoration that happens to protect. It is built in layers, each doing a different job, and almost every paint problem is one of those layers failing. Understand the structure and the maintenance side becomes obvious: keep the top layer clean and sealed, and repair breaches before water gets to the steel.
What is car paintwork made of?
Modern factory paintwork is four or five layers thick and, in total, thinner than a sheet of paper.
| Layer | What it does |
|---|---|
| Electrocoat, or e-coat | A dipped anti corrosion primer applied to the bare bodyshell, the main defence against rust |
| Primer or surfacer | Fills minor imperfections, gives the colour coat something to key to, and evens out the surface |
| Basecoat | The colour itself, including metallic flake or pearl particles. On its own it has no gloss and no durability |
| Clearcoat, or lacquer | The transparent top layer that provides gloss, depth and UV protection. This is the layer you actually touch |
| Optional protection | Wax, synthetic sealant, ceramic coating or paint protection film applied by the owner or detailer |
The important point is that the clearcoat is what you are protecting. Polish, wax and washing technique all act on the lacquer. Once a scratch is through it into the basecoat, no amount of polishing brings the colour back, and the repair becomes a refinishing job.
Why does paintwork matter beyond appearance?
Because it is the barrier between salted UK roads and the steel underneath. A chip that goes through the lacquer, the colour and the primer exposes bare metal, and in a British winter that spot will be showing rust within months. Once corrosion starts it spreads under the surrounding paint, so a repair that would have been a touch in becomes cutting back to sound metal, treating, filling and refinishing a panel.
There is a value argument too. Paint condition is the first thing a buyer, a trade in valuer or a lease return inspector looks at, because it is visible from ten feet away without any mechanical knowledge. Faded lacquer, mismatched panels and rust bubbles cost real money at the point of sale.
What damages car paint in the UK?
The threats here are different from those in hotter, drier climates. Road salt and constant damp do far more harm to UK cars than sun does.
- Road salt and grit. Spread from roughly October to March, it is both corrosive and abrasive. It collects in wheel arches, sills and behind bumpers where it stays wet for weeks.
- Stone chips. Thrown up by other traffic, worst on motorways and on freshly dressed rural roads. Bonnet leading edges, front bumpers, wing mirrors and the sill area behind the front wheels take the brunt.
- Bird lime. Acidic and, on a warm panel, capable of etching a permanent mark into lacquer within hours.
- Tree sap. Hardens onto the surface and pulls lacquer with it if you try to scrape it off.
- Iron fallout. Tiny particles from brake dust and railway lines that embed in the lacquer and rust in place, showing as orange specks on light coloured paint.
- UV light. Slower here than in a hot climate but still real, gradually breaking down the lacquer until it goes flat and chalky, particularly on roofs and bonnets.
- Bad washing. The single biggest cause of the fine swirl marks that dull a dark car. Rolling brush washes, dirty sponges and one bucket of increasingly gritty water all grind debris across the surface.
- Kerbing and car parks. Door edges, trolley strikes, bumper corners and kerbed sills, all of which break the surface rather than just marking it.
How is a car painted or repaired?
A refinish follows the same sequence whether it is one panel or a whole car, and the quality of the result is decided almost entirely in the first two stages.
- Assessment and colour match. The paint code is read from the vehicle plate, then adjusted for the specific car. Factory batches vary and paint fades in service, so a good shop mixes, sprays a test card and compares it against the panel in daylight before touching the car.
- Preparation. Damage is straightened, corrosion cut back to sound metal, and any filler applied and shaped. The surrounding area is flatted so the new material has a key. This is the longest stage of the job and skipping it is why cheap paintwork fails.
- Priming. Primer seals the repair, stops filler soaking up topcoat, adds corrosion protection and gives a uniform base colour so the finished shade is consistent.
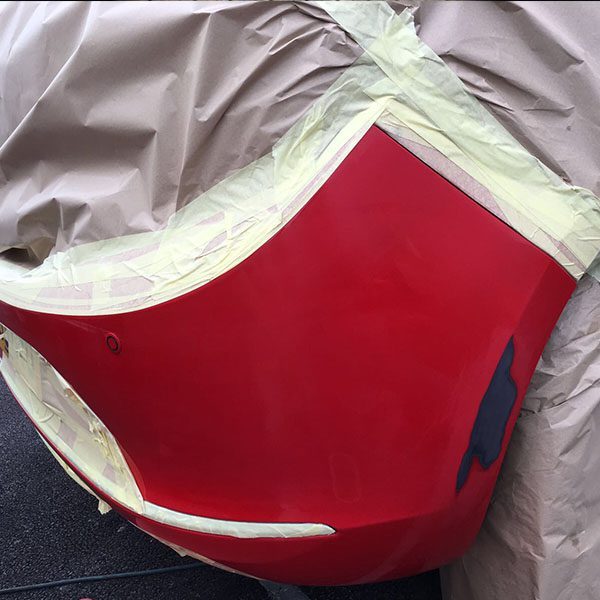
- Masking. Everything not being painted is covered. Overspray on glass, trim and adjacent panels is a common giveaway of rushed work.
- Basecoat. The colour is sprayed in several light coats, and metallics need consistent gun technique or the flake lies unevenly and the panel looks patchy in the light.
- Blending. On anything other than a full panel, the new colour is faded out into the adjacent area so there is no hard edge. This is what makes a repair invisible.
- Clearcoat. Two pack lacquer goes over the top for gloss and durability.
- Curing and finishing. The paint is baked or force dried, then flatted and machine polished to remove any texture and match the gloss of the surrounding panels.
For small, localised damage, a SMART repair compresses this into a few hours on a single area rather than a full panel respray. It suits scuffed bumpers, kerbed alloys, small dents, scratches and chips, and it is done at the customer's home or workplace using a mobile setup. It is not the answer to severe corrosion or a heavily creased panel, which need workshop bodywork.
Common paintwork problems and how to fix them
| Problem | What causes it | Realistic fix |
|---|---|---|
| Fine swirl marks | Poor washing technique, brush car washes | Machine polishing to level the lacquer, then better wash habits |
| Light scratch you cannot feel with a fingernail | Surface marking in the lacquer only | Machine polish or a dedicated compound |
| Scratch you can feel | Through the lacquer, often into colour | Touch in, or refinish the panel section for an invisible result |
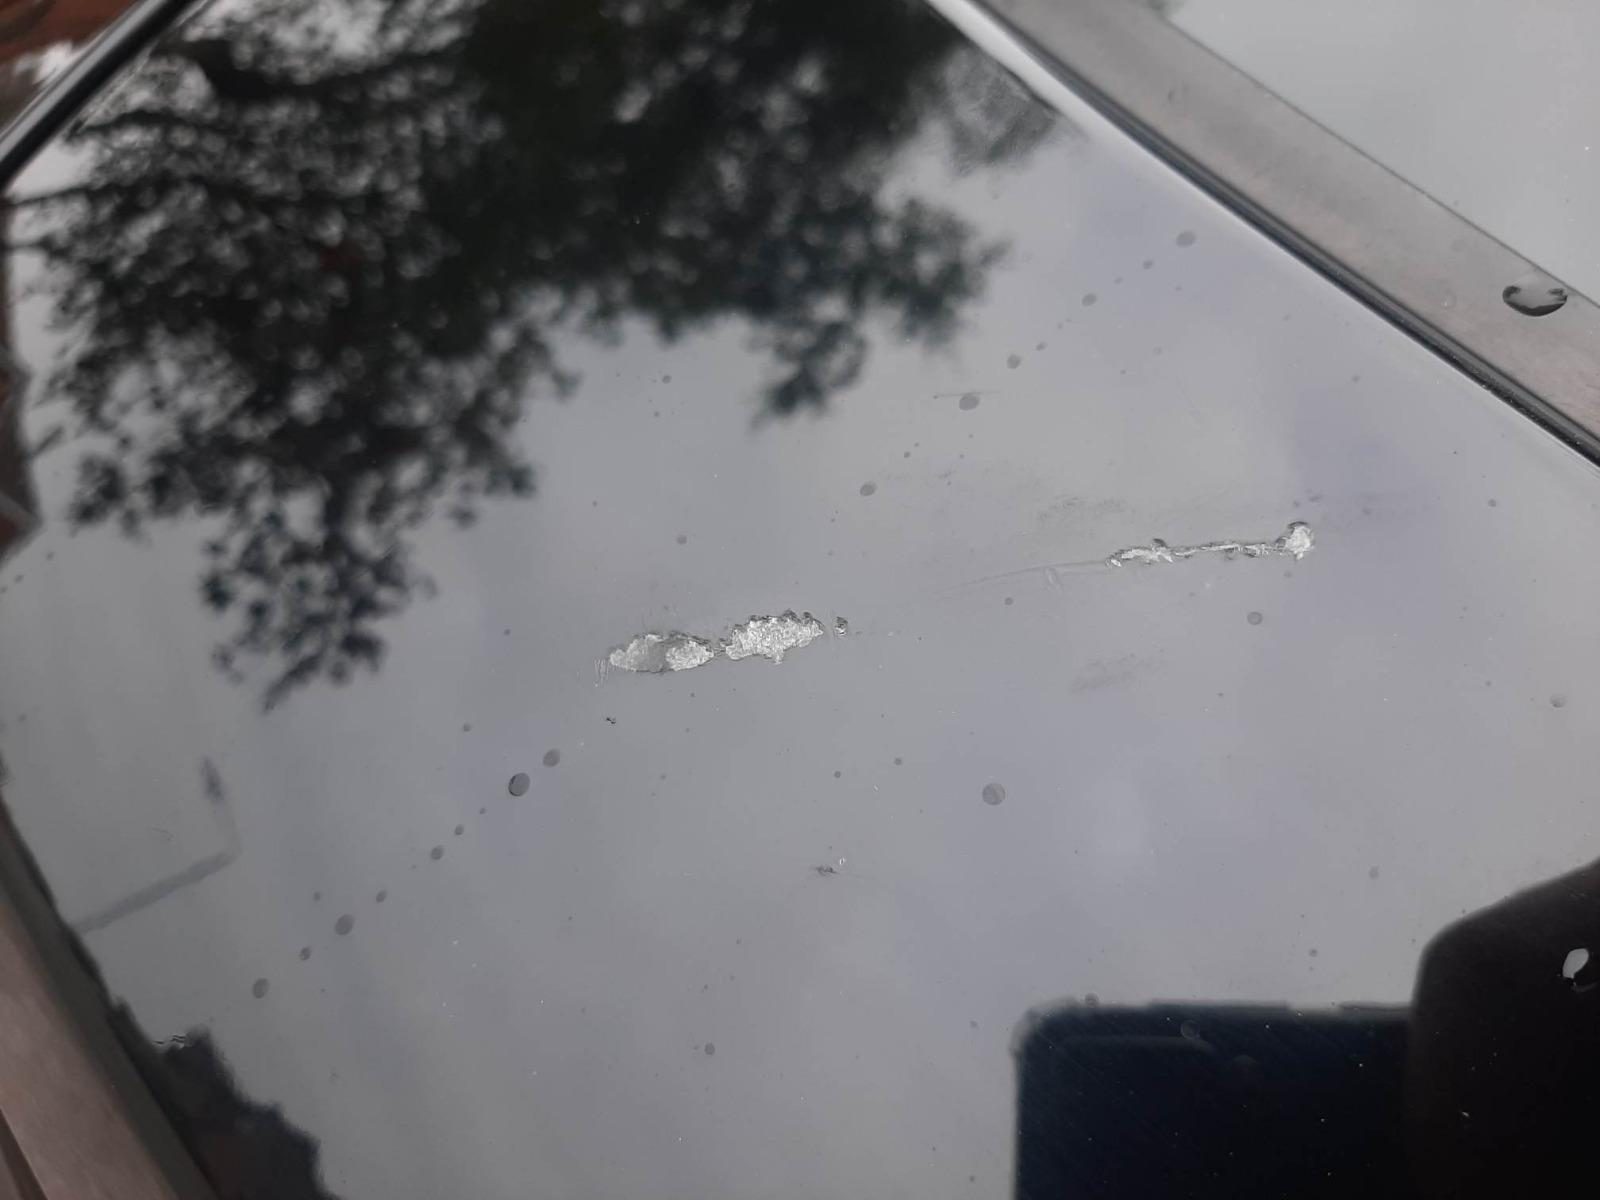
| Stone chips | Road debris | Fill and blend while the metal is still sound |
| Fading and chalky finish | UV breakdown of the clearcoat | Machine polish if there is lacquer left, refinish if not |
| Lacquer peel | Clearcoat failure, common on older cars and on roofs | Cannot be polished out, the panel needs stripping and refinishing |
| Rust bubbles under the paint | Corrosion starting at an unrepaired chip or seam | Cut back to clean metal, treat, fill, prime and paint |
| Orange specks on light paint | Embedded iron fallout | Chemical fallout remover, then a clay treatment and a fresh sealant |
| Bird lime etching | Acid burn into the lacquer | Light polishing if shallow, refinishing if it has bitten deep |
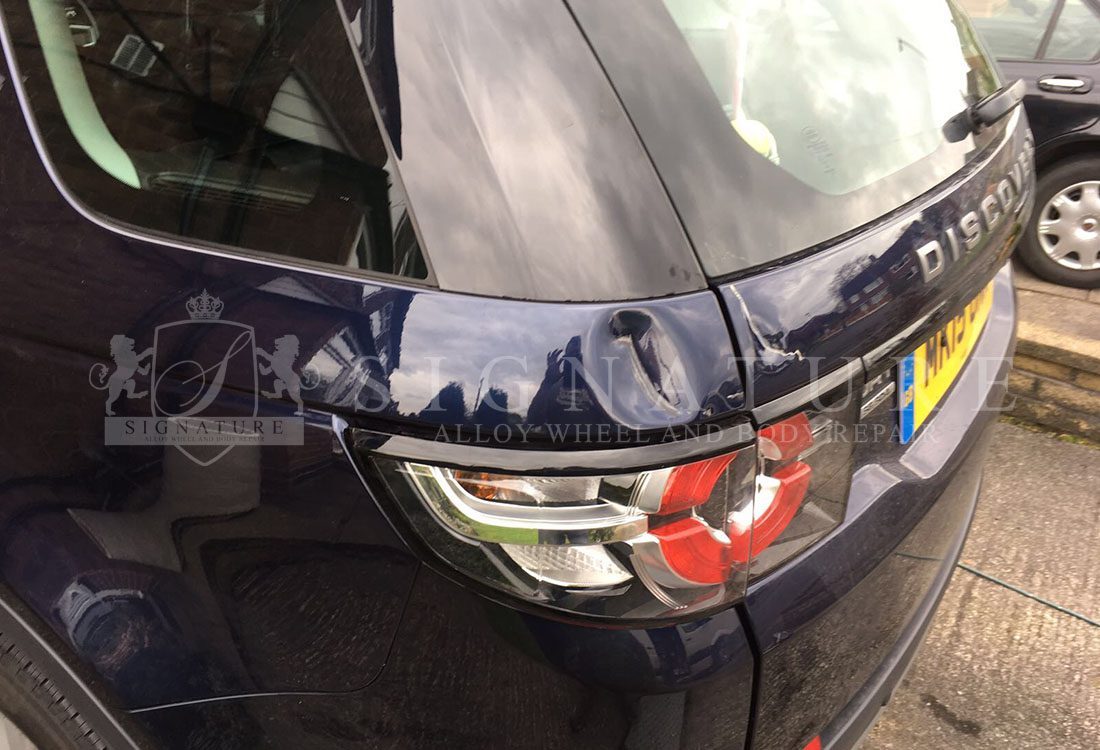
| Scuffed bumper corner | Car parks and kerbs | Plastic repair and localised refinish |
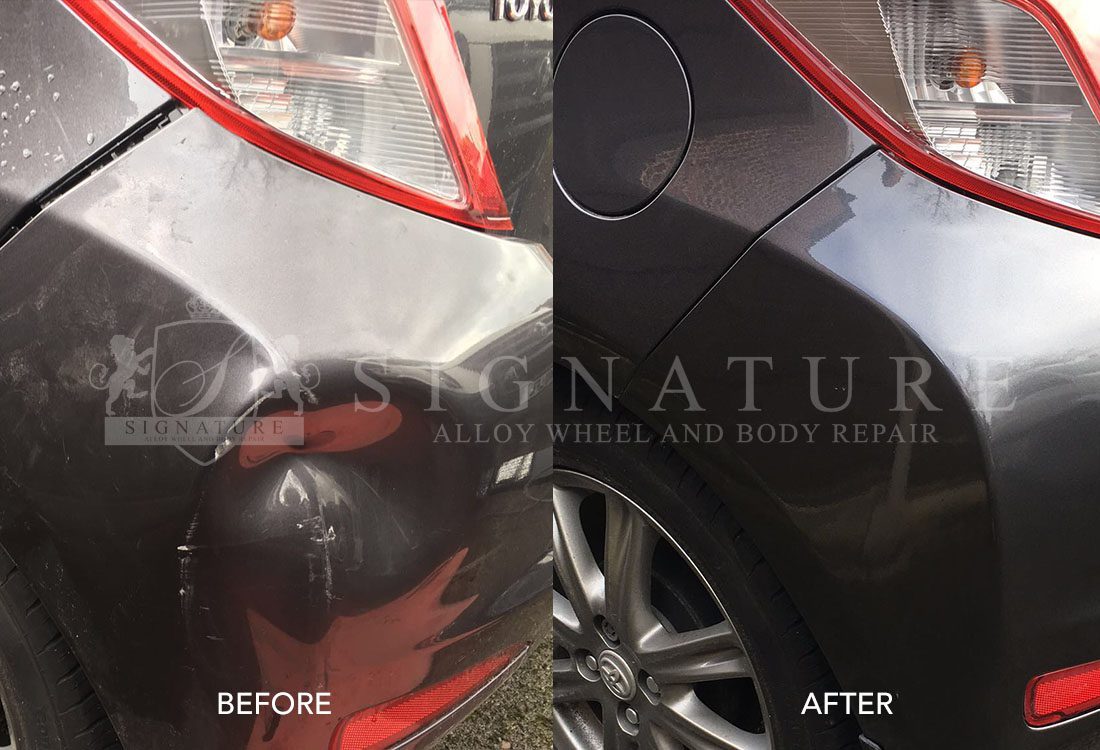
Where the mark is confined to the lacquer, machine polishing restores it by levelling the surface. Where the damage has gone through, scuff and scratch repair puts colour and clearcoat back and blends it into the surrounding panel.
Should you repair paintwork yourself or use a body shop?
Do it yourself for chips, and for light polishing on a car you are happy to practise on. Use a shop for anything that needs colour matching or blending.
Home touch up kits work well on chips: cleaned, degreased, built up in thin layers with a fine brush and left proud, then carefully flatted and polished back level. Done patiently, a chip repair on a solid colour is close to invisible and it stops corrosion, which is the important part.
Where home repairs come unstuck is colour. Metallic and pearl paints look different depending on how the flake settles, and an aerosol applied by hand almost never lays the flake the way a spray gun does. The result is a patch that is the right shade from directly in front and obviously wrong from an angle. Panel edges are the other trap: paint that stops at a hard edge rather than being blended shows as a line forever.
The other honest consideration is that badly applied paint has to be removed before a proper repair can be made, so a failed DIY attempt often costs more than having the job done in the first place.
How do you wash a car without scratching it?
Most swirl marks are put in by washing, so technique matters more than product.
- Rinse the whole car first with a hose or pressure washer to float off loose grit before anything touches the paint.
- Use a snow foam or pre wash if you have one and let it dwell, then rinse again.
- Use two buckets: one with shampoo, one with clean rinse water, both with grit guards. Rinse the mitt in the clean bucket after every panel.
- Use a soft microfibre wash mitt, never a sponge, which traps grit against the paint.
- Work top down, doing the dirtiest areas such as sills and lower bumpers last, and use a separate mitt for those.
- Use a pH neutral car shampoo. Household detergents strip protection.
- Rinse thoroughly and dry with a large plush microfibre drying towel, patting rather than dragging, or use a filtered blower.
- Wash wheels with their own bucket, brushes and mitt. Brake dust is exactly the abrasive you do not want anywhere near paint.
- Avoid washing in direct sunlight or on a hot panel, which dries shampoo before you can rinse it and leaves water spots.
Twice a year, a decontamination wash is worth doing: an iron fallout remover to dissolve embedded particles, a tar remover on the lower panels, then a clay bar or clay mitt to pull out anything left. Paint feels glassy afterwards, and protection bonds far better to a clean surface.
What paint protection is worth applying?
| Protection | Roughly how long it lasts | Notes |
|---|---|---|
| Carnauba wax | Weeks to a couple of months | Best warmth and depth of shine, least durable, cheap and easy |
| Synthetic sealant | Several months | More durable than wax, sharper and glassier look, easy to apply |
| Ceramic coating | A year or more | Hardest wearing and best chemical resistance, needs proper preparation and costs the most |
| Paint protection film | Years | A clear physical film for high impact areas such as the bonnet leading edge, front bumper and arches. The only thing that genuinely stops stone chips |
None of these makes paint scratchproof, and none removes the need to wash properly. What they do is make washing easier, keep contaminants sitting on a sacrificial layer, and slow UV breakdown of the lacquer underneath.
A year round paintwork routine
- Autumn. Decontaminate and apply a durable sealant before the salt goes down. This is the most valuable single job of the year on a UK car.
- Winter. Wash more often, not less. Rinse the arches, sills and underside to flush salt out, and keep drain holes in doors and sills clear.
- Spring. Full decontamination wash, then check the front end for the winter's chips and get them repaired before the metal starts to rust.
- Summer. Watch for bird lime and sap, and keep the car waxed or sealed to slow UV damage. Machine polish if the finish has gone flat.
Deal with chips as you find them rather than saving them up. A front end covered in chips is a bigger job than the same panel caught early, and stone chip repair is at its cheapest and most effective while the metal underneath is still clean.
Need this doing properly?
Signature repairs alloy wheels and bodywork across Greater Manchester and the North West, mobile at your home or workplace. Free quotes answered within 24 hours.