Car care
How to Wax Your Car: Step by Step for a Lasting Shine
How to wax a car properly. Preparing the paint, applying thin even coats, buffing off without marring, and how often waxing is actually worth doing in the UK.
15 minute read By Signature Alloy Wheel & Body Repairs
In short
Wash and dry the car, clay the paint smooth, then work in the shade on cool panels. Apply wax in a thin, even layer with a foam applicator, one panel at a time. Let it haze for the time on the bottle, then buff off with a clean plush microfibre cloth using light straight strokes.
Wax is protection first and shine second. It sits on top of the clear coat as a thin sacrificial layer so that rain, road salt, bird droppings, tree sap and UV attack the wax rather than the paint. The gloss most people wax for is a side effect of a smooth, clean, sealed surface. That is worth knowing before you start, because it explains why preparation does more for the end result than the wax you choose.
What does car wax actually do?
Wax forms a thin water repellent barrier over the clear coat, so contamination sits on the surface instead of bonding to the paint.
- It buys you time against etching. Bird droppings and insect residue are acidic. On unprotected paint in warm weather they can etch the clear coat within a day. On a waxed panel they usually wipe off.
- It reduces how hard dirt sticks. Water beads and rolls off, taking road film with it, so each wash needs less contact and causes less marring.
- It slows UV fading. Reds and dark blues lose their depth fastest when left unprotected, and older single stage paint is particularly vulnerable.
- It improves gloss. Wax fills the microscopic texture in the clear coat, so light reflects more evenly and the colour reads as deeper.
- It helps in winter. Salt spray sheets off a well waxed car and is much easier to rinse away before it starts working on seams and edges.
What wax does not do is repair anything. It will mask very light marring for a wash or two, then that is gone. If the paint underneath is swirled, chipped or scratched, wax seals in the appearance of the damage rather than removing it.
Wax, sealant or ceramic coating: which should you use?
Wax gives the warmest finish and the least durability, sealants last longer, and ceramic coatings last longest but demand the most preparation.
| Type | What it is | Roughly how long it lasts | Best for |
|---|---|---|---|
| Carnauba paste wax | Natural wax in a solvent carrier | Six to ten weeks in UK conditions | Depth and warmth on dark and metallic paint, show finishes |
| Liquid wax | Softer blend, easier to spread | Around two months | Larger cars and anyone waxing by hand for the first time |
| Spray wax | Very light, applied after washing | A few weeks | Topping up between proper waxes, quick refresh before an event |
| Synthetic sealant | Polymer based, bonds to the clear coat | Four to six months | Winter protection, daily drivers, cars kept outside |
| Ceramic coating | Semi permanent silica based coating | A year or more | Owners who want long protection and will pay for the paint correction it needs first |
Paste waxes need more effort to apply and remove but tend to look the best on dark colours. Sprays are the easiest and the shortest lived. There is no reason not to mix them: sealant for durability, a wax layer on top for looks, then a spray wax to refresh after washes.
What you need to wax a car
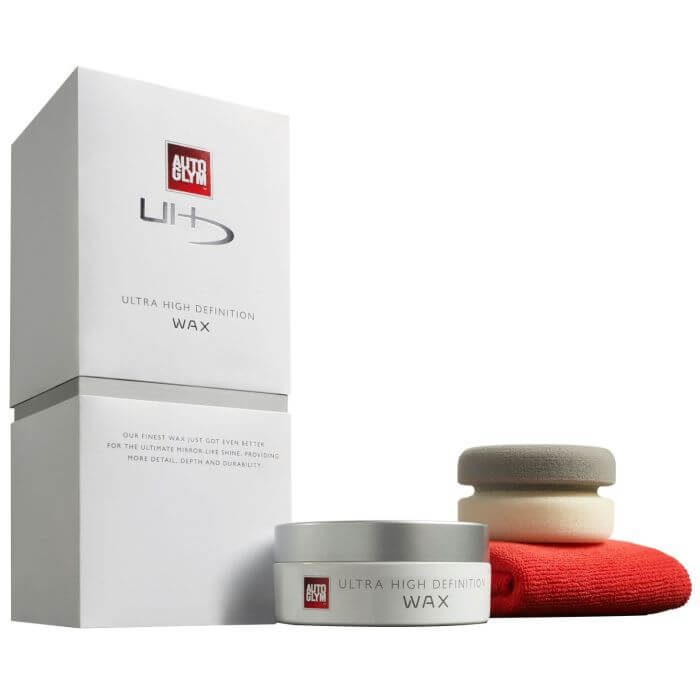
A wax, two or three foam applicator pads and several clean plush microfibre cloths cover the job. Everything else improves the result rather than making it possible.
- Car wax in paste, liquid or spray form.
- Foam or microfibre applicator pads. Have a couple so you can swap to a clean one when the first loads up.
- Plush microfibre buffing cloths. Use several. A cloth full of wax residue stops removing wax and starts smearing it.
- Car shampoo, two buckets and a drying towel for the wash beforehand.
- A clay bar or clay mitt with lubricant, for pulling bonded contamination out of the paint.
- Tar remover and iron fallout remover, if the car has visible tar spotting on the sills or orange specks on light paint.
- Panel wipe or a light isopropyl alcohol solution, to strip any oils before the wax goes on.
- Masking tape, to protect textured plastic trim and rubber seals from wax residue.
- Optional: a dual action polisher, if the paint needs correcting before you seal it.
When and where should you wax a car?
Wax in the shade, on cool panels, on a dry day, ideally somewhere out of the wind and dust. A garage is best.
- Temperature. Most waxes want somewhere around 10C to 25C. In hot sun, the wax flashes off almost instantly and becomes very hard to buff. In the cold it will not spread properly.
- Surface temperature, not air temperature. A dark bonnet in weak sunshine can be far hotter than the day feels. If the panel is warm to the back of your hand, move the car and let it cool.
- Weather. Give the wax at least a few hours, ideally overnight, before the car sees rain. It needs time to cure and bond.
- Location. A dusty driveway or a windy day means grit landing in the wax while you work, which is exactly what you are trying to avoid.
- Time. Allow around two hours for a normal hatchback if the car is already clean. Preparation takes longer than the waxing.
How to prepare paint before waxing
Preparation is the part that determines the result. Wax applied over a dirty or contaminated surface locks the contamination in and will not bond properly.
Wash and dry the car thoroughly
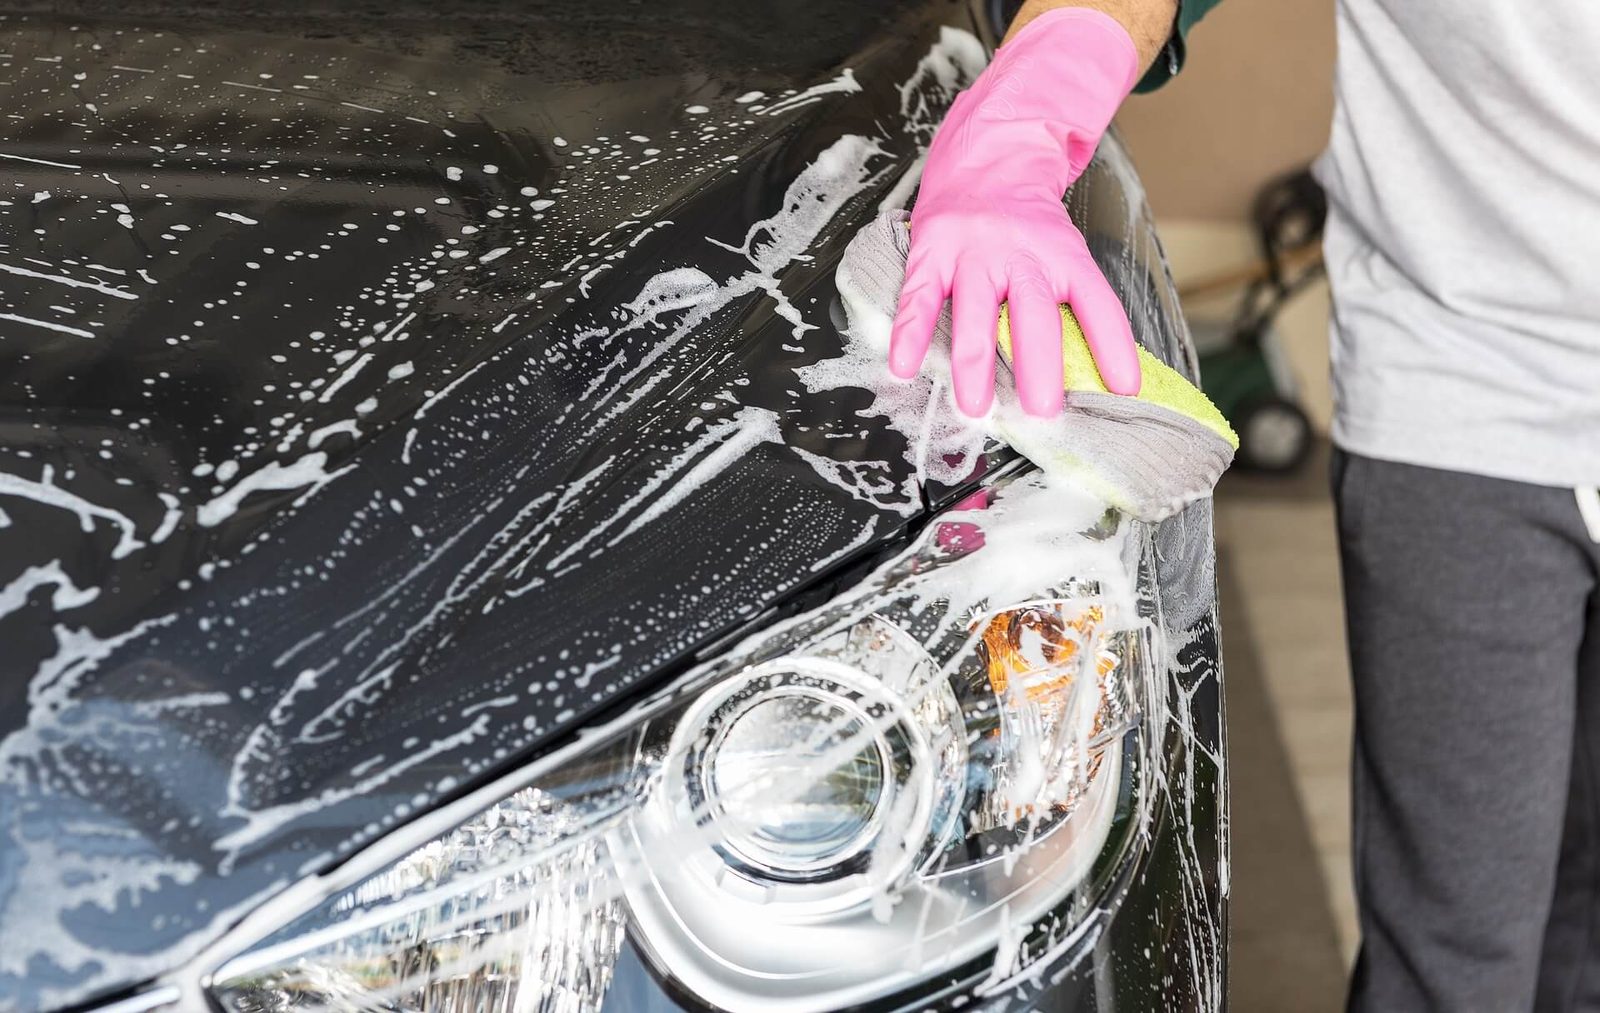
Wash using two buckets, a pH neutral shampoo and a soft mitt, working top down, then rinse and dry with a plush microfibre drying towel. Dry the door shuts, boot shut and mirror housings too. Any water still hiding in a gap will run out later and streak straight through your fresh wax.
Decontaminate the paint
Run the back of your hand inside a thin plastic bag over the paint. If it feels gritty rather than glassy, the paint is contaminated and needs decontaminating.
- Tar spots along the lower doors and sills need a dedicated tar remover, applied on a cloth and left to dwell before wiping.
- Orange or rust coloured specks on light coloured paint are iron fallout from brake dust and railways. A fallout remover dissolves them chemically.
- Everything else comes out with a clay bar or clay mitt used with plenty of lubricant. Work in small sections with light straight passes, kneading the clay to a fresh face regularly, and never use clay that has been dropped.
- Tree sap and bonded insect residue usually respond to a dedicated remover rather than force.
Rinse and dry again once you have finished.
Correct anything you do not want sealed in
Look over the paint in strong light, ideally with a torch held at an angle. Swirl marks, holograms and light scratching all polish out, and now is the only sensible time to do it, because polishing removes wax anyway. A dual action polisher with a light polish will clear most wash marring in an afternoon. Deeper defects, dull patches and anything your fingernail catches on need more than polish. If the paint is heavily swirled or you would rather not learn on your own car, machine polishing can be done at your home or workplace.
Finish by wiping the panels with a panel wipe or a diluted isopropyl alcohol solution. This removes polishing oils and any leftover residue, so the wax bonds to clean paint rather than sitting on a film that will wash away.
How to apply car wax step by step
Apply wax thinly, one panel at a time, and let each panel haze before you buff it.
- Mask what you want to protect. Tape off textured plastic trim, rubber seals and unpainted grille sections. Wax dries white in textured plastic and is tedious to remove.
- Shake or prime the product. Liquid and spray waxes need shaking. With a paste, wipe the applicator lightly across the surface of the tin. You need far less than you think.
- Load the applicator lightly. A thin layer cures properly and buffs off easily. A thick layer wastes product, takes longer to remove and does not last any longer.
- Work panel by panel. Bonnet, roof, boot, then each wing, door and bumper. Start at the top and work down.
- Spread evenly. Overlapping straight passes give the most consistent coverage. Circles are fine on a flat panel, but straight lines make it easier to see where you have been.
- Do not forget the edges. Bonnet edges, sills, the lower part of the bumpers and the area behind the fuel filler flap take the most abuse and get missed most often.
- Let it haze. Most waxes need a few minutes. The bottle will tell you. The classic test is to swipe a finger across the wax: if it comes away clean and leaves a clear patch, it is ready to buff. If it smears, give it longer.
- Do not let it go too far. In warm conditions wax can over cure and become difficult to remove. On a hot day, wax and buff a single panel at a time rather than doing the whole car and coming back.
How to buff off wax without marring the paint
Use a clean, dry, plush microfibre cloth, light pressure and straight strokes, and change to a fresh cloth as soon as the one you are using loads up with residue.
- Fold the cloth into quarters so you have eight clean faces to work through.
- The first pass lifts the bulk of the residue. The second pass, with a clean face, brings up the gloss.
- Keep the pressure light. If you are pushing hard, the wax has over cured. Mist it with a quick detailer to soften it instead of forcing it off.
- Use a soft detailing brush or a cotton bud to clear residue from badge surrounds, panel gaps, grille slats and the edges of lights.
- Never buff with a cloth that has been dropped. Once it has touched the ground it belongs in the wheels and sills pile.
- Wash microfibre cloths separately from household laundry, with no fabric softener, which clogs the fibres and ruins them.
If you are using a paste wax and want more depth, a second coat is worth it, but leave the first to cure for a few hours or overnight first. A second coat applied straight onto uncured wax mostly removes the first one.
Should you wax by hand or with a machine polisher?
Hand application is perfectly good for wax. A machine earns its place in the correction stage that comes before it, not in spreading the wax itself.
- By hand. A foam applicator gives you complete control, gets into recesses and around badges, and cannot burn through an edge. On a normal hatchback it takes an hour or so. The main downside is that it is tiring across a large estate or a van.
- By machine. A dual action polisher with a soft finishing pad on a low speed spreads wax quickly and very evenly, which is worth having on a big vehicle. It will not make the wax last longer and it will not add gloss on its own.
- Where the machine actually matters. Correcting swirls, holograms and light scratching before the wax goes on. That is what changes how the paint looks, and it is the one stage that hand work struggles to match.
If you are buying a polisher, a dual action is the sensible choice for a home user. A rotary cuts faster but generates heat and will strike through the clear coat on a panel edge in seconds if you are not experienced with it. Whichever you use, tape up sharp edges, panel gaps and trim, keep the pad flat and moving, and stop to check your progress with a torch rather than working blind.
Waxing a new car, a fresh respray or a wrap
New cars, freshly painted panels and wrapped vehicles all need different treatment from ordinary cured paint.
- A brand new car. The paint is fully cured by the time it reaches you, so it can be waxed straight away. What it usually needs first is decontaminating, because transport film, rail dust and dealer preparation marks are common on delivery.
- A fresh respray. Paint continues to release solvent for a period after it is sprayed, so it needs to breathe before it is sealed. Wax too early and you can trap solvent, which shows as dulling or blistering. If we have refinished a panel for you, we will tell you how long to leave it before waxing, and washing by hand is fine in the meantime.
- A repaired panel that has been blended. Treat it like the rest of the car once it has cured, but avoid aggressive polishing over the blend edge, where paint is thinnest.
- A vinyl wrap. Use a product made for vinyl. Traditional paste waxes can stain matt film and build up in the seams and edges of a gloss wrap.
- Older single stage paint. Common on classics, where the colour is in the top layer and there is no clear coat over it. It benefits enormously from wax, but polish it gently, because you are removing colour rather than lacquer.
How often should you wax your car in the UK?
Every two to three months is a sensible cycle for a car kept outside, and roughly twice a year for a garaged car that does low mileage.
The honest test is how the paint behaves in the rain. If water still pulls into tight beads and sheets off, the protection is working. When water starts lying in flat patches across the panel and the car stays wet, the wax has gone.
Things that shorten the life of a coat of wax:
- Frequent washing, particularly with strong traffic film removers or the pre wash at a jet wash.
- Winter road salt and grit.
- Hot sun and high UV.
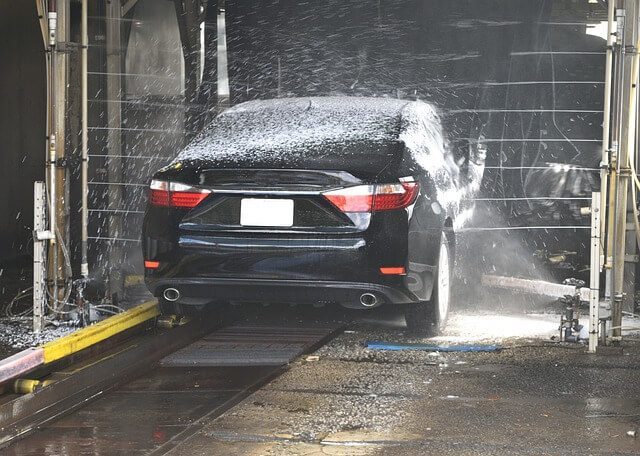
- Automatic rolling brush car washes, which strip wax and add swirl marks at the same time.
- Parking under trees where sap and droppings sit on the paint.
Applying a synthetic sealant in October and topping it with a wax gives a car the best chance through a UK winter. A spray wax after each wash keeps things topped up in between without another full session.
What should you not put wax on?
Keep wax off anything textured, matt or unpainted, and off glass you rely on for visibility.
- Textured plastic trim and roof rails. Wax dries white in the grain. Use a dedicated trim dressing.
- Rubber seals. Wax dries them out. A silicone or rubber conditioner is the right product.
- Matt and satin wraps or paint. Wax adds gloss, which is exactly what you do not want, and can leave a patchy sheen.
- Windscreens. A rain repellent glass sealant is designed for the job. Wax can smear under wipers.
- Brake discs and tyre treads. Obvious, but overspray from a spray wax does happen. Mask or cover them.
- Damaged paint and exposed primer. Wax will not protect bare metal or filler, and it makes any later repair harder because the paint has to be cleaned back off. Get chips and scratches dealt with first, then protect the finished job.
Can you wax wheels, glass and headlights?
Yes, and the wheels in particular are worth doing, because a sealed wheel sheds brake dust instead of letting it bake on.
- Alloy wheels. Wax or a dedicated wheel sealant on a clean, dry wheel makes the next few cleans much quicker. Get into the barrel as well as the face if the wheel is off the car. On diamond cut wheels, keep any product away from lacquer that has already started to lift, since sealing over corrosion just hides it while it spreads.
- Headlights. Wax adds nothing lasting to polycarbonate lenses and can smear. If they have yellowed, they need sanding and polishing followed by a UV protective coating.
- Glass. Use a rain repellent designed for glass rather than paint wax. Applied to the windscreen it improves visibility in heavy rain and reduces wiper judder.
- Exhaust tips and brightwork. A metal polish followed by a light coat of wax keeps stainless and chrome from staining.
- Painted plastic bumpers and mirror caps. These take wax exactly like a metal panel. Textured plastic does not.
Common waxing mistakes
- Applying too much. Thick wax is harder to remove and no more protective.
- Waxing in the sun or on a hot panel. The wax flashes and bonds too hard.
- Waxing over a dirty or contaminated surface. You are sealing grit against the clear coat.
- Waxing over swirl marks and expecting them to disappear. Wax hides very light marring for a wash or two, no more.
- Using an old cotton towel to buff. Cotton is more abrasive than microfibre and undoes the work.
- Waxing textured trim. White residue in the grain is difficult to remove.
- Washing with washing up liquid beforehand. It strips protection and dries out seals and trim. Use car shampoo.
- Waxing a brand new respray too soon. Fresh paint needs time to fully cure before it is sealed. If we have repaired a panel for you, we will tell you when it is safe to wax it.
Does wax need to cure before the car gets wet?
Give it a few hours at minimum and overnight if you can. Wax continues to harden and bond to the clear coat after it has been buffed, and rain falling on a coat that has not set will thin it and shorten how long it lasts.
- Check the forecast before you start, and try to leave the car under cover overnight.
- Avoid washing the car for a couple of days afterwards. There is nothing to remove, and shampoo on uncured wax works against you.
- Do not park under trees while it cures. Sap landing on fresh wax bonds into it.
- If the car does get caught out, dry it with a plush microfibre towel rather than letting it dry on its own, and top up with a spray wax if the beading looks patchy.
Will waxing hide scratches?
Wax hides very light marring temporarily and hides nothing else permanently. Understanding which is which saves a lot of wasted effort.
- Paint feels smooth, marks visible in bright light. Wash marring and swirls in the clear coat. These polish out properly, and wax afterwards keeps them from returning.
- Fingernail catches slightly, mark is white or silver. A scratch through the top of the clear coat. Light machine polishing may reduce it, but it will still be visible at an angle.
- Fingernail catches clearly, or you can see colour, primer or metal. The scratch is through the paint. It needs filling, colour matching and refinishing, which is what a SMART repair is for.
- Dull, chalky patch that will not shine up. Clear coat failure, common on older roofs and bonnets. Polish will not bring it back and the panel needs refinishing.
If you are getting a car ready to sell or hand back at the end of a lease, the sequence that works is repair first, correct second, protect third. Waxing over damage simply preserves it. Send a few photos through the quick quote form if you want an opinion on which category a mark falls into before you spend a weekend on it.
Need this doing properly?
Signature repairs alloy wheels and bodywork across Greater Manchester and the North West, mobile at your home or workplace. Free quotes answered within 24 hours.