Alloy wheels
How to Clean Alloy Wheels Without Damaging the Finish
Clean alloy wheels properly with the right method for painted, diamond cut, polished and matt finishes, plus how to shift baked on brake dust safely.
8 minute read By Signature Alloy Wheel & Body Repairs
In short
Work on cool wheels out of direct sun. Rinse off loose grit, apply a pH neutral wheel cleaner, agitate with soft brushes into the barrel and around the spokes, rinse thoroughly and dry with microfibre. Finish with a wheel sealant. Avoid acid cleaners and abrasive pads, which strip lacquer and dull the finish.
Alloy wheels get the hardest life of any part of the car. They sit in the spray of road salt, tar, grit and hot brake dust, and unlike paintwork nobody polishes them once a month. Most wheels that look permanently dull are not dirty, they are corroded, and that usually started with either an acidic cleaner or a kerb strike that broke the lacquer. Clean them properly and they stay bright for years.
What do you need to clean alloy wheels?
You need less kit than most guides suggest, but the brushes matter.
- Two buckets, one for wash solution and one to rinse the brushes in
- A pH neutral wheel cleaner, safe for all finishes
- A soft faced wheel brush for the front spokes
- A long handled barrel brush for the inside of the rim
- A small detailing brush for the bolt recesses and around the valve
- A separate brush for the tyre wall, kept apart from the wheel brushes
- A hose or pressure washer
- Two microfibre drying towels, kept only for wheels
- Optional: iron fallout remover, tar remover, wheel sealant
Keep wheel cloths and brushes separate from the ones you use on paintwork. Brake dust is metallic and abrasive, and a cloth that has touched a wheel will scratch a bonnet.
How do you clean alloy wheels step by step?
Do the wheels before the rest of the car, so you are not splashing brake dust and cleaner over freshly washed paint.
- Park sensibly and let the wheels cool. Flat ground, out of direct sun, and cool to the touch. Cleaner sprayed onto a hot wheel flashes off before it can work and leaves streaks or, worse, etching.
- Rinse first. Blast off loose grit from the face, the barrel and the arch. Skipping this step means you are grinding sand across the finish with your brush. Angle the water in behind the spokes as well as at the face.
- Apply wheel cleaner. Cover the whole wheel, front face and barrel, and let it dwell for the time on the label, usually two to five minutes. Do not let it dry on the surface.
- Agitate. Soft brush across the face and between the spokes, barrel brush right around the inner rim, detail brush into bolt recesses and around the valve stem. Let the brush do the work rather than leaning on it.
- Do the tyre separately. A tyre and arch cleaner with a stiffer brush removes old dressing and the brown bloom that comes from the rubber itself. Use the dedicated tyre brush so you are not putting a stiff brush near the wheel finish.
- Rinse thoroughly. More than you think you need, from every angle. Residual cleaner left in a bolt recess will stain.
- Dry with microfibre. Water left to evaporate leaves mineral spots that are harder to remove than the dirt was. Dry the barrel and behind the spokes as well as the face.
- Protect. Apply a wheel sealant or wax to a clean, dry wheel. It makes the next clean far easier because brake dust sits on the coating rather than bonding to the finish.
How do you remove baked on brake dust?
Baked on brake dust needs a chemical, not force. The particles are hot iron that has embedded itself into the lacquer, so scrubbing simply polishes the surface around them.
- Use an iron removing fallout remover after your normal wash. It reacts with embedded iron and changes colour, usually to purple, as it works.
- Let it dwell for the stated time, agitate lightly with a soft brush, then rinse fully.
- Repeat once on badly neglected wheels rather than extending the dwell time or scrubbing harder.
- For the last stubborn specks, a fine detailing clay used with plenty of lubricant will lift what remains without abrading the finish.
If the wheel still looks grey and lifeless after all of that, the dust is no longer the problem. The lacquer itself has become dull or is beginning to break down, and no cleaner will restore it.
Does the wheel finish change how you clean them?
Yes, and this is the most common mistake. The same product that is fine on a painted wheel can ruin a polished or diamond cut one.
| Finish | How to spot it | Cleaning approach |
|---|---|---|
| Painted and lacquered | Solid colour, uniform gloss, most common factory finish | pH neutral cleaner, soft brush, sealant. Very forgiving |
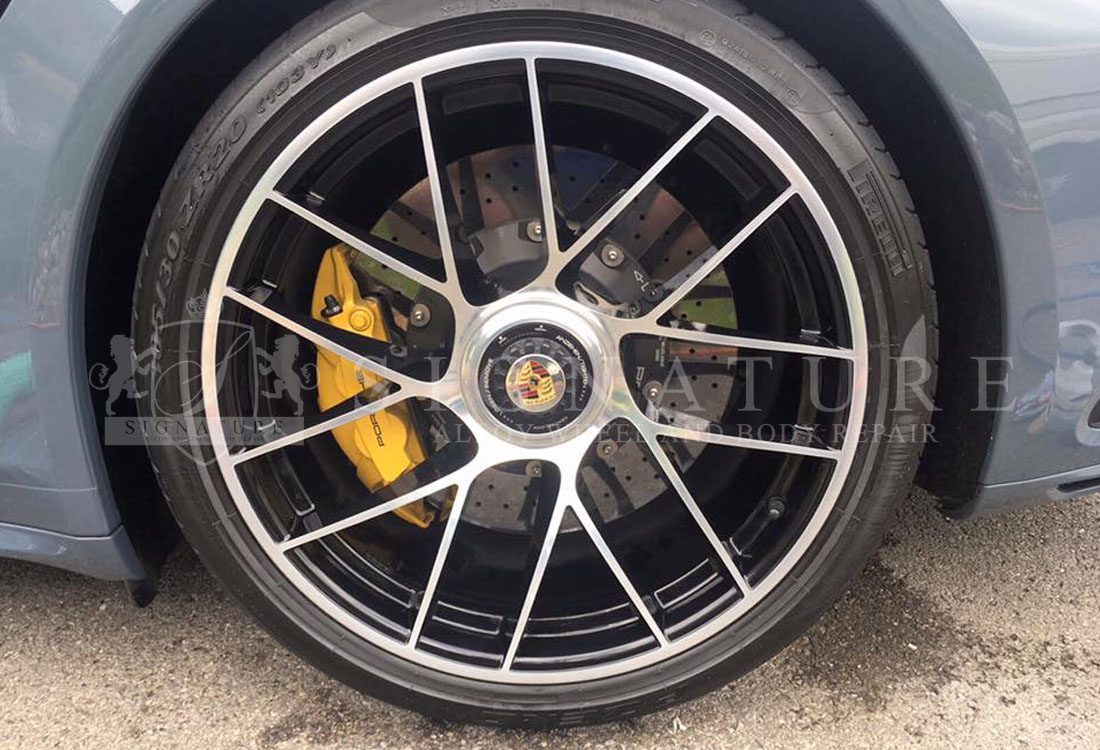
| Diamond cut | Bright machined face with fine concentric lines, often with painted recesses | pH neutral only. Never acidic or abrasive. Lacquer here is thin and unforgiving |
| Powder coated | Thicker, slightly textured coating, common on refurbished wheels | Durable. pH neutral cleaner, avoid strong solvents |
| Polished aluminium | Mirror bright, no lacquer, tarnishes over time | Never use alkaline or acidic cleaners. Use a metal polish and seal it |
| Matt or satin | Flat finish with no reflection | pH neutral cleaner only. No polish, no wax, nothing that adds gloss or leaves streaks |
| Chrome effect | Heavy mirror finish, usually a plated plastic or coating | Gentle cleaner and soft cloths. Abrasives cut straight through the plating |
Diamond cut wheels deserve particular care. The machined face is protected by a thin layer of lacquer over bare aluminium, and once that lacquer is breached at a kerb scuff or a stone chip, moisture gets underneath and the wheel starts to cloud and go milky from that point outwards. Cleaning will not stop it. Only a proper diamond cut wheel repair, where the face is re machined on a lathe and re lacquered, will.
Should you use acid wheel cleaners?
Avoid them for home use. Acid based cleaners shift heavy brake dust quickly, which is why they exist, but they also etch bare aluminium, cloud lacquer and attack the wheel weights and valve stems. The damage is invisible for the first few applications and permanent by the time you notice it.
The safe rule is:
- pH neutral cleaners for routine washing on any finish
- Iron removers for embedded brake dust, which are effective without being aggressive to the coating
- Alkaline cleaners only on robust painted or powder coated wheels, and never left to dry
- Acids left to the trade, where they are used under controlled conditions on wheels that are about to be refinished anyway
Can you use a pressure washer on alloy wheels?
Yes, with a wide fan and a sensible distance. A pressure washer is the best way to flush grit out from behind the spokes and inside the barrel before you touch the wheel with a brush.
Keep to a few limits:
- Use a fan nozzle, not a pencil jet or turbo head
- Stay at least 30 centimetres from the surface
- Do not aim directly at the tyre valve, the wheel weights or the bearing seals
- Avoid holding the jet on any area of chipped or lifting lacquer, which will strip further
- Never use a hot pressure washer on a wheel with existing lacquer damage
How often should you clean alloy wheels?
Every two weeks is a reasonable target, and weekly through a British winter. The frequency matters more than the effort in any single session, because the longer brake dust sits on hot lacquer the more firmly it bonds.
Adjust for how you drive:
- Performance brakes or heavy urban braking: weekly, since these produce far more dust
- Winter and salted roads: weekly rinse at minimum, even if you do nothing else
- Coastal driving: more often, because salt air accelerates corrosion
- Low mileage and garaged: monthly is usually enough
A quick rinse and a pH neutral cleaner every fortnight takes ten minutes. Recovering wheels that have gone six months without attention takes hours and often exposes damage that cleaning cannot fix.
Mistakes to avoid when cleaning alloy wheels
- Cleaning hot wheels. Product dries on and etches into the finish.
- Using acidic or household cleaners. Vinegar, oven cleaner, bleach and bathroom sprays all damage wheel coatings.
- Using wire wool, scouring pads or stiff brushes on the wheel face. These leave permanent fine scratching that traps dirt.
- Using the same brush on tyres and wheels. Old tyre dressing transfers straight onto the finish.
- Skipping the barrel. Most corrosion starts on the inner rim where nobody looks.
- Letting wheels air dry. Water spotting on a dark wheel is very visible.
- Ignoring the tyre valve and weights. Both corrode and both are cheap to replace before they cause a slow puncture or a vibration.
- Doing the wheels last. You will spray brake dust over the paint you just washed.
When is cleaning not enough?
Cleaning cannot fix damage to the coating itself, and trying harder usually makes it worse. Book a proper repair when you see:
- Kerb scuffs that have taken the lacquer or paint back to bare metal
- White or grey powdery patches, which are aluminium oxide forming under a breached coating
- Lacquer peeling or flaking in patches, often starting at the rim edge
- A milky, cloudy look on a diamond cut face, which is corrosion spreading beneath the lacquer
- Pitting or a rough texture that you can feel with a fingertip
- Buckles or cracks after a pothole strike, which are a safety issue rather than a cosmetic one
Most of these are repairable without replacing the wheel. Painted and powder coated wheels can be stripped, repaired and refinished, and alloy wheel refurbishment can often be carried out at your home or workplace in a day. Diamond cut faces need lathe work, so they are a workshop job. Either way, catching the damage while it is still localised is what keeps the cost down, because corrosion spreading under lacquer only ever gets larger.
Need this doing properly?
Signature repairs alloy wheels and bodywork across Greater Manchester and the North West, mobile at your home or workplace. Free quotes answered within 24 hours.