Car care
How to Wash a Car Properly: A Safe Step by Step Guide
The two bucket method, the right order of jobs and the drying technique that keeps swirl marks off your paint. A body shop guide to washing a car safely.
15 minute read By Signature Alloy Wheel & Body Repairs
In short
Wash a car top down using two buckets, one for clean shampoo and one to rinse the mitt. Clean the wheels first, pre rinse the whole car, wash in straight overlapping passes with a soft mitt, rinse thoroughly, then dry with a plush microfibre towel before the water dries on.
Washing a car is the single job that does most to keep paint in good condition, and it is also the job that causes most of the fine scratching we see on cars in the workshop. The swirl marks that show up under a garage light or low winter sun are almost never caused by the road. They come from grit being dragged across the paint by a sponge, a brush or a dirty towel. Get the method right and you protect the finish every time you clean it.
What do you need to wash a car?
You need a pH neutral car shampoo, two buckets, a soft wash mitt, a wheel cleaner and brushes, and at least one large microfibre drying towel. Everything else is optional.
| Item | Why it matters |
|---|---|
| Car shampoo | Formulated to lift dirt without stripping wax. Household detergents strip protection and dry out trim and seals. |
| Two buckets | One holds clean shampoo solution, the other is for rinsing grit out of the mitt. This is the single biggest factor in avoiding swirl marks. |
| Grit guards | Plastic grates that sit in the bottom of each bucket so released dirt stays down there instead of returning to the mitt. |
| Microfibre or lambswool wash mitt | Deep pile traps grit away from the paint. A flat sponge holds grit on the surface and grinds it in. |
| Wheel cleaner and brushes | Brake dust is baked on and needs a dedicated acid free cleaner plus a soft face brush and a long barrel brush. |
| Drying towel | A large plush microfibre towel or a twisted loop drying towel absorbs water without dragging. |
| Hose or pressure washer | For pre rinsing and final rinsing. A watering can works at a push, but rinsing properly matters. |
| Optional: snow foam and lance | A thick foam layer softens and lifts loose dirt before you touch the paint at all. |
| Optional: glass cleaner, tyre dressing, wax or sealant | For the finishing stage. |
Keep your wheel brushes, buckets and mitts separate from your paint kit. Wheel tools pick up sharp brake dust particles that will scratch paint immediately if they get anywhere near a panel.
How to wash a car step by step
Work from the dirtiest part of the car to the cleanest, and from the top of each panel downwards, so you are never dragging fresh dirt across a clean surface.
1. Park in the shade and let the panels cool
Direct sun and warm metal make shampoo and water dry on contact, which leaves streaks and hard water spots that are harder to remove than the original dirt. A shaded driveway, an overcast day or early morning are all better than midday sun. If the car has just been driven, give the wheels and brakes a few minutes to cool before you put cold water and cleaner on them.
2. Clean the wheels and arches first
Wheels carry the heaviest contamination on the car, so they get dealt with before anything else while the rest of the paintwork is still dry.
- Rinse each wheel and the inside of the arch to knock off loose grit.
- Spray a wheel cleaner over the face, the barrel and the arch liner and give it a minute to work. Do not let it dry.
- Agitate with a soft faced wheel brush on the front, a long flexible brush inside the barrel and a stiffer brush for the tyre wall and arch.
- Rinse thoroughly, then move on to the next wheel.
Check the cleaner is safe for your wheel type. Diamond cut and polished finishes have a thin lacquer over bare machined metal, and a strong or acidic cleaner left to dry on them can lift the lacquer and start the milky corrosion that spreads under the surface. If the lacquer has already gone cloudy round the rim, no cleaner will fix it and the wheel needs refurbishing.
3. Pre rinse the whole car from the top down
Rinse the roof first and let the water carry dirt down the glass, then the upper panels, then the lower doors, sills and bumpers. The aim is to remove every loose particle before anything touches the paint. Pay attention to the areas that hold grit: the bottom third of the doors, behind the wheel arches, the leading edge of the bonnet and the tailgate shut.
If you have a snow foam lance, this is the point to cover the car in foam and leave it to dwell for a few minutes. Foam is not a substitute for the contact wash, but it removes a surprising amount of traffic film before you touch a panel.
4. Wash with two buckets
Fill one bucket with shampoo mixed to the dilution on the bottle, and the second with plain clean water. The clean water bucket is where the mitt gets rinsed.
- Load the mitt from the shampoo bucket and wash one section at a time: roof, glass, bonnet, boot, then upper panels, then lower panels last.
- Use straight overlapping passes rather than circles. Circular motions concentrate any marring into swirls that catch the light from every angle. Straight lines leave marks that are far less visible and easier to polish out later.
- Let the mitt glide. Pressure does not shift bonded dirt, it just presses grit into the clear coat. If something will not come off with a light pass, it needs a chemical or a clay bar, not force.
- After every section, rinse the mitt in the clean water bucket, wring it out, then reload it from the shampoo bucket.
- Do the lower doors, sills, bumpers and behind the arches last, ideally with a second mitt.
If the mitt hits the floor, it is finished for that wash. It has picked up stones that no amount of rinsing will fully release.
5. Rinse thoroughly
Rinse from the top down again and keep going for longer than feels necessary. Dried shampoo residue is a common cause of streaking. Open the doors, boot and bonnet and rinse the shuts, then check the usual traps: window rubbers, wing mirror housings, badges, grille slats, fuel filler flap and the underside of door handles.
A free flowing rinse without a spray nozzle helps here. Water sheets off the panel in a single film and takes most of the standing water with it, which leaves much less to dry.
6. Dry before the water dries on you
Water left to evaporate deposits the minerals it was carrying, and that is what a water spot is. On dark paint in summer this can happen within a minute or two.
- Use a large plush microfibre drying towel, laid flat and drawn across the panel rather than scrubbed.
- Start at the roof and glass, then work down.
- Dry the shuts, mirror housings and around badges, or water will run out of them and streak the panel an hour later.
- Keep a smaller towel for wheels and sills so the main towel stays clean.
An electric blower or a leaf blower does an excellent job of clearing water out of trim gaps, grilles and wheels without touching the paint at all.
Why does the two bucket method matter so much?
Because a single bucket turns into a grit reservoir within minutes. Every time you dip a dirty mitt back into your shampoo, you deposit sand, brake dust and road grit into the solution, then pick some of it back up and rub it across the clear coat. The second bucket gives the grit somewhere to go.
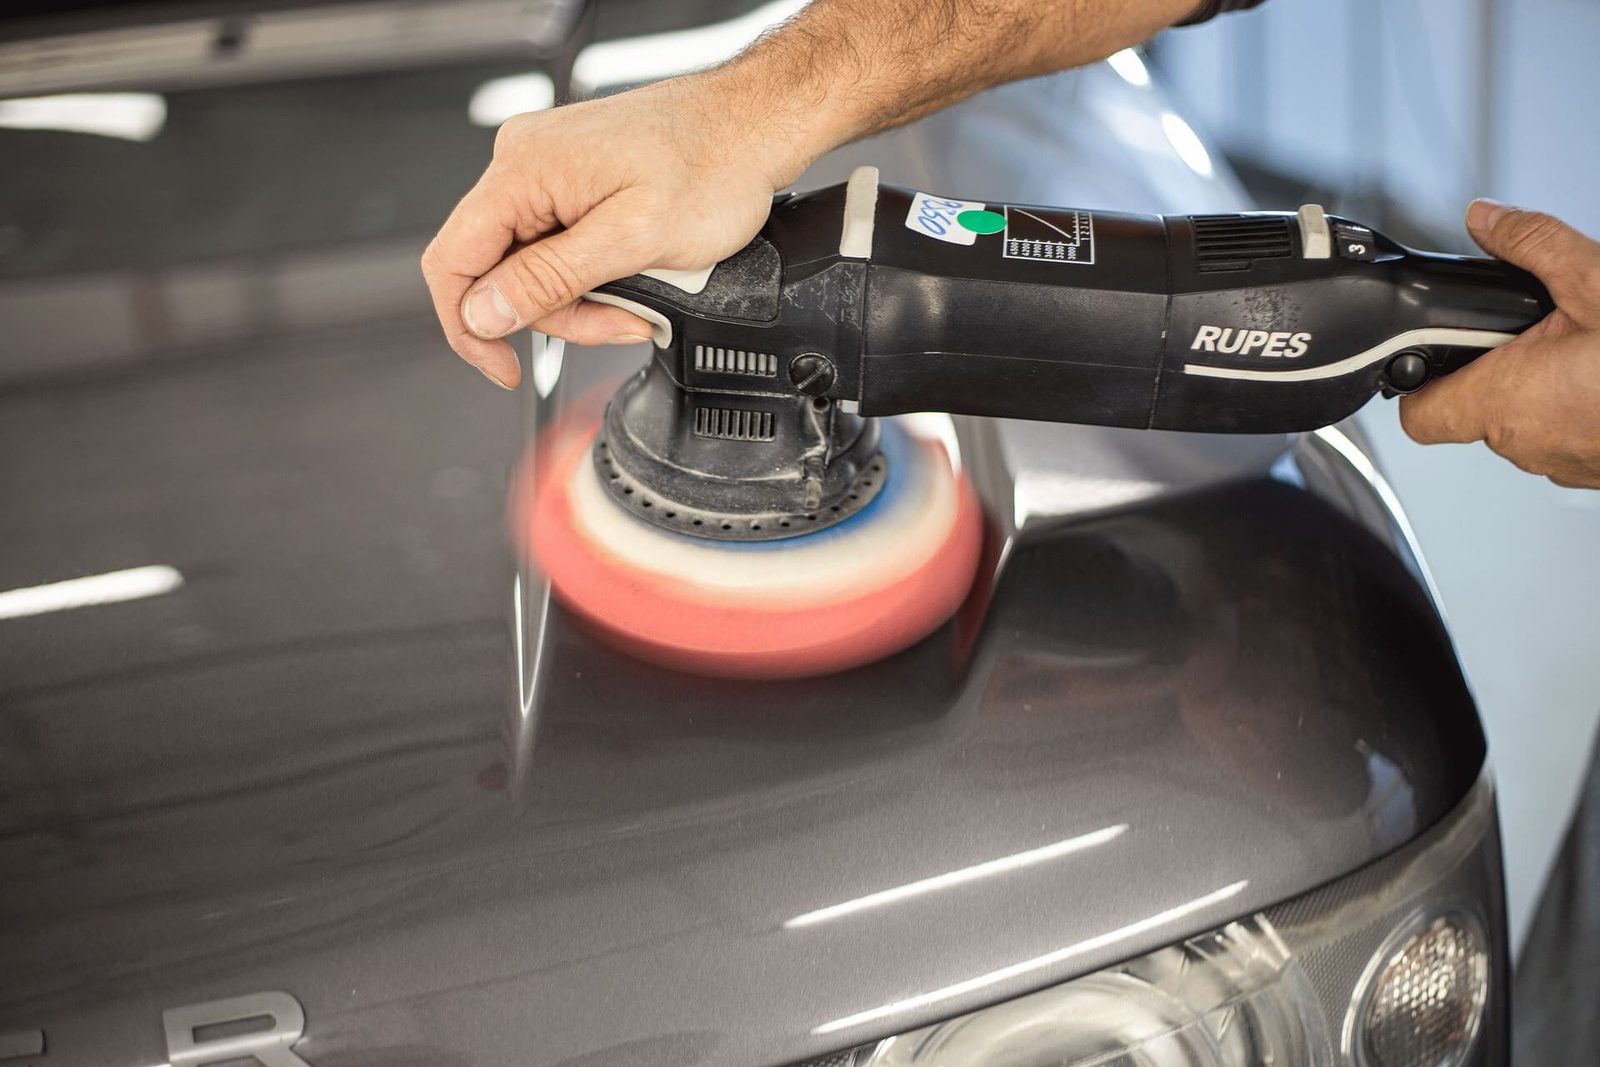
The damage this causes is real but shallow. Wash marring sits in the top few microns of the clear coat, which is why a properly machine polished panel can look transformed. That depth is finite, though. Every correction removes a little clear coat, so the sensible approach is to avoid putting the marks there in the first place. If your paint is already covered in swirls, machine polishing will remove them, and a careful wash routine keeps them from coming back.
How often should you wash your car in the UK?
Every two weeks is a reasonable baseline, but the honest answer is that it depends on what is landing on the paint rather than on the calendar.
- Winter, November to March. Every week or two if you can. Salt and grit hold moisture against the metal, and the arches, sills and lower doors are where corrosion starts. A rinse alone is better than nothing.
- Spring. Tree sap, pollen and blossom. Sap hardens quickly and etches into clear coat, so deal with it promptly.
- Summer. Insect residue and bird droppings are acidic and will etch paint in hot weather within a day or two. Remove them as soon as you spot them with a damp microfibre cloth and a little quick detailer, rather than waiting for wash day.
- Autumn. Wet leaves left sitting in the scuttle, boot shuts and sunroof drains hold water and dye the paint.
- Coastal or near a railway line, quarry or industrial estate. Salt air and iron fallout both need more frequent attention.
Cars that sit outside under trees or on a busy road need washing more often than a car that lives in a garage. Frequency matters less than never letting acidic contamination sit on the paint.
Hand wash, jet wash or automatic car wash?
A careful hand wash at home is the kindest option for the paint. Every other method trades some paint safety for speed or convenience.
| Method | Does well | Risk to paint | Best for |
|---|---|---|---|
| Careful two bucket hand wash | Thorough, controlled, no contact with anyone else's grit | Low, if you use clean mitts and rinse properly | Anyone who cares how the paint looks in three years |
| Hand car wash service | Fast and cheap | Depends entirely on the site. One bucket and a shared sponge causes swirls | Convenience, when you can see they use two buckets and clean mitts |
| Jet wash bay, self service | Excellent for pre rinsing and arches | Low if you bring your own mitt and avoid the wall brush | Winter salt removal and a quick rinse between proper washes |
| Touchless automatic wash | No physical contact with the paint | Strong chemicals strip wax and sealant, and heavy dirt stays put | A protected car needing a quick rinse in bad weather |
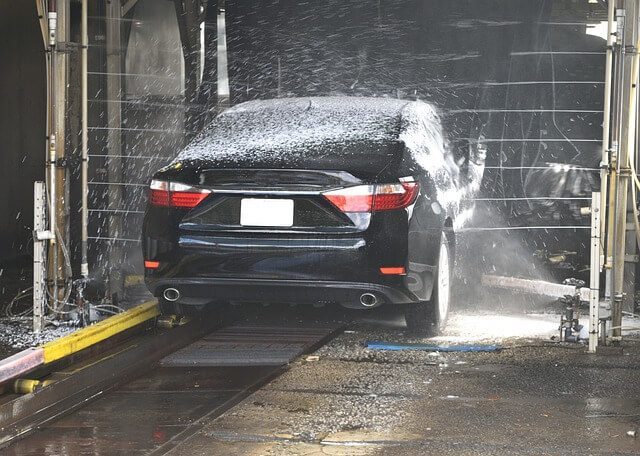
| Rolling brush automatic wash | Very quick | Highest. Brushes carry grit from earlier cars and mark the clear coat | Vans and work vehicles where appearance is secondary |
The reason a machine wash marks paint is straightforward: the brushes touch every car in the queue, and whatever came off the last vehicle is still in them when they reach yours. On dark paint the effect is visible within a few visits as a haze of fine circular scratching that only shows in direct light.
If you use a hand wash service, the things worth looking at are whether they use two buckets, whether the mitts are rinsed or dropped on the floor, and whether they dry with microfibre or with old towels. Those three details separate a good site from one that will cost you a machine polish later.
Common car washing mistakes
Most paint damage from washing comes from a short list of habits.
- Using a sponge. A flat sponge holds grit against the paint. A deep pile mitt lets it fall away from the surface.
- Washing in circles. Straight passes hide any marring far better and are easier to correct.
- Washing in direct sun. Shampoo dries on the panel, leaving streaks and etched water spots.
- Using a household detergent. It strips wax and sealant and dries out rubber and plastic.
- Cleaning the wheels last. Fresh brake dust then gets flicked onto clean paint.
- Air drying. Water spots are minerals left behind by evaporation. Dry the car properly.
- Using an old bath towel or chamois that has been dropped. Cotton towelling is more abrasive than microfibre, and anything that has touched the ground carries stones.
- Rolling brush car washes. The brushes carry the grit from every car ahead of you in the queue.
- Ignoring the shuts and arches. These trap salt and moisture and are where rust normally starts.
Are pressure washers safe on car paint?
Yes, on sound paintwork, if you keep your distance and use a fan spray. A pressure washer is genuinely useful for arches, wheels and pre rinsing, because it removes loose grit without contact.
Sensible limits:
- Keep the lance around 30cm to 45cm away from the panel, further on badges, decals and trim.
- Use a wide fan nozzle, never a pencil jet or a turbo nozzle, on paintwork.
- Do not hold the jet on one spot, and keep it moving.
- Stay away from any paint edge that is already lifting, chipped or has been touched in with a brush. Water will get under it and take more off.
- Be careful around older vinyl wraps, decals, rubber seals and the edges of a soft top.
If a stone chip on the bonnet has already gone through to primer or metal, a pressure washer will find it. Chips are worth sealing early rather than letting water sit in them through a winter.
How to wash a car without a driveway or a hose
If you have no outside tap, a rinseless wash lets you clean a moderately dirty car with a single bucket of water and a stack of microfibre towels.
- Rinseless wash. Mix the solution in one bucket at the dilution on the bottle. Soak a plush microfibre towel, wring it lightly, wipe one section in straight passes, then immediately dry that section with a second clean towel. Use a fresh towel face for every panel. It works because the polymers in the solution encapsulate dirt and lift it away from the paint rather than dragging it.
- Waterless wash. A spray on product for light dust and fingerprints only. On a genuinely dirty car it becomes a grit distribution system, so keep it for a car that is nearly clean already.
- Jet wash bay. Take your own bucket, shampoo and mitt. Use the bay lance to pre rinse and to rinse off, but wash by hand rather than using the brush on the wall, which has been dragged across every car before yours.
- Hosepipe restrictions. In a dry summer with a ban in place, a bucket wash and a rinseless wash are usually still permitted where a hose is not. Check the wording from your water company, since the rules vary.
Winter is when a car needs washing most and when it is hardest to do it. A rinse with plain water, aimed particularly at the arches, sills and underside, still removes the salt that does the damage, and takes ten minutes.
How do you remove tar, sap and bird droppings?
Each needs a specific product rather than more scrubbing, because they are bonded to the paint rather than sitting on it.
- Tar. Black speckles along the lower doors and sills, worst after motorway driving on a hot day. Use a dedicated tar remover on a cloth, let it dwell, then wipe. Wash the area afterwards, as tar removers strip wax.
- Tree sap. Hardens quickly and etches clear coat. A sap remover or a little isopropyl alcohol on a microfibre cloth softens it. Do not pick at it with a fingernail.
- Bird droppings. Acidic and the most damaging thing that regularly lands on a car. Soak a microfibre cloth with quick detailer, lay it over the dropping for a minute to soften it, then lift rather than rub. Anything gritty in the dropping will scratch if you wipe it dry.
- Insect residue. A bug remover sprayed onto a wet bumper and left to dwell saves a lot of scrubbing on the front end and mirrors.
- Iron fallout. Small orange specks on light coloured paint. A fallout remover dissolves them and turns purple as it works.
Any of these left through a warm week will leave a mark in the clear coat that washing cannot remove.
Finishing off: glass, tyres, trim and protection
Once the car is dry, twenty minutes of finishing work makes more visual difference than anything else in the process.
- Glass. Use a dedicated automotive glass cleaner and two microfibre cloths, one to clean and one to buff dry. Do the inside as well, since most of the haze that scatters light at night is on the inside of the windscreen. Wind the side windows down a couple of inches and clean the top edge.
- Tyres and arches. Clean the tyre walls properly, then apply a dressing sparingly and buff off the excess. Over applied dressing slings onto the paint on the first drive.
- Plastic trim. Faded black trim responds well to a dedicated trim restorer. Keep wax and polish off textured plastic, because it dries white in the grain and is a nuisance to remove.
- Protection. A coat of wax or a synthetic sealant makes the next wash easier, helps the car shed water and salt, and gives some protection against UV fading. Wax on a clean, dry, cool car and buff off with a clean microfibre cloth.
- Door shuts and sills. Wipe them dry and, in winter, keep an eye on the seams and the bottom of the doors where salt collects.
When washing will not fix the problem
If a mark stays after washing, it is either bonded contamination or actual damage to the paint, and each needs a different answer.
- Rough to the touch, comes off with a clay bar. Bonded fallout, tar or overspray. Decontaminate, then protect.
- Visible in the light but the paint feels smooth, and your fingernail does not catch. Swirls or light scratching in the clear coat. This polishes out.
- Fingernail catches in the scratch. It has gone through the clear coat. Polishing will soften the look but will not remove it, and it needs filling and refinishing.
- Colour showing through as white, grey or primer. The scratch is through the paint layer entirely and will need touching in or a panel repair.
- A dull patch that will not shine up, or paint flaking at an edge. Clear coat failure. It cannot be polished back and the panel needs preparing and refinishing.
Most scuffs on bumper corners, door edges and wing mirrors that owners assume need a full respray are small enough for a localised SMART repair, done in a few hours and blended into the surrounding panel. Give us a description and a couple of photos through the quick quote form and we can usually tell you which category a mark falls into before you go anywhere near it with a polisher.
Need this doing properly?
Signature repairs alloy wheels and bodywork across Greater Manchester and the North West, mobile at your home or workplace. Free quotes answered within 24 hours.